
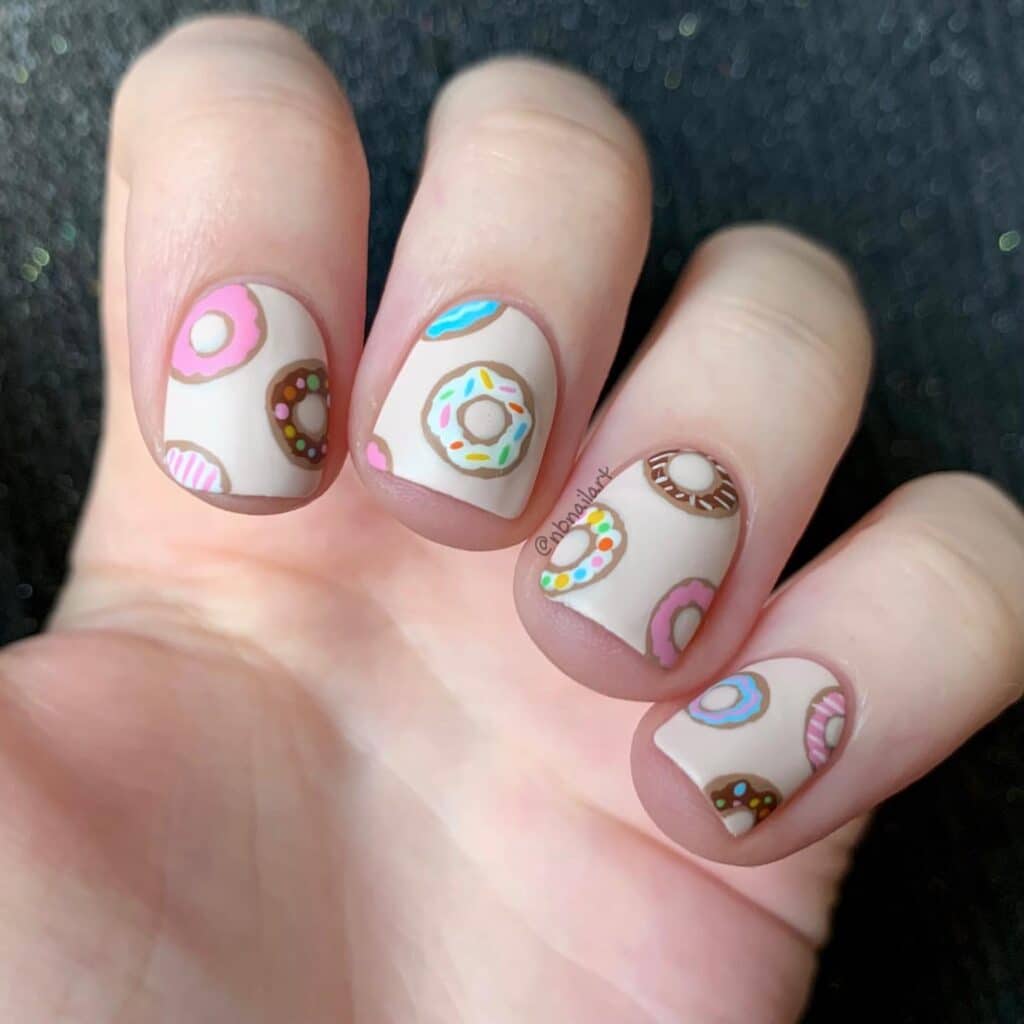
This blog is about Gingerbread Nail Design.
Gingerbread nail designs have become a festive favorite, especially during the holiday season. These cute and creative designs often feature warm colors, intricate icing patterns, and charming gingerbread man motifs, making them a delightful way to celebrate the season. By incorporating playful elements and seasonal themes, individuals can express their holiday spirit through their manicures.
Whether someone is looking for inspiration for a holiday party or simply wants to enjoy some creative self-care, a gingerbread nail design can be a fun project. Various techniques and styles can be explored, from simple nail art to more complex designs that showcase one’s creativity. This blog post will provide techniques, tips, and design ideas for anyone wanting to try their hand at this holiday trend.
For those who love to keep up with seasonal nail art, cute gingerbread designs promise to charm and inspire. With the right tools and a bit of imagination, anyone can turn their nails into a festive canvas that captures the joy of the holidays.
Cute Gingerbread Nail Design Inspirations
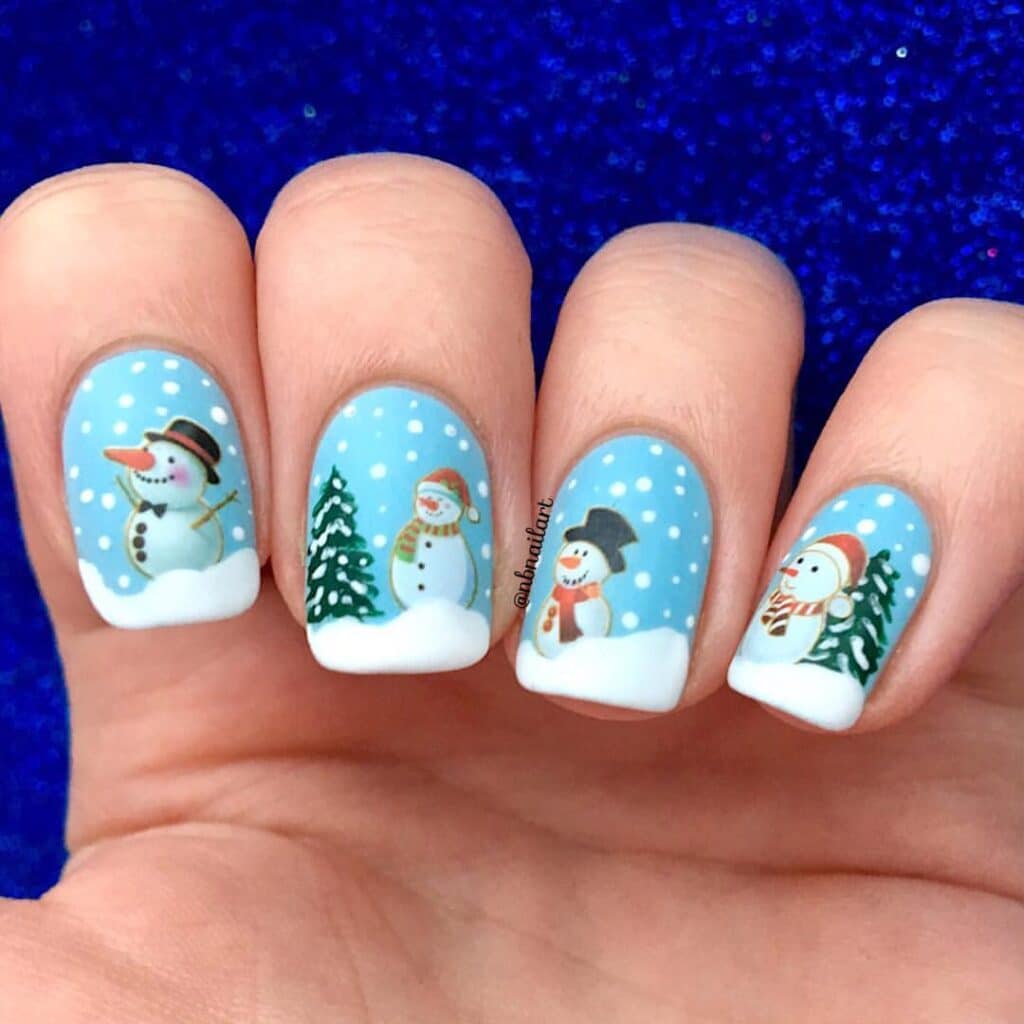
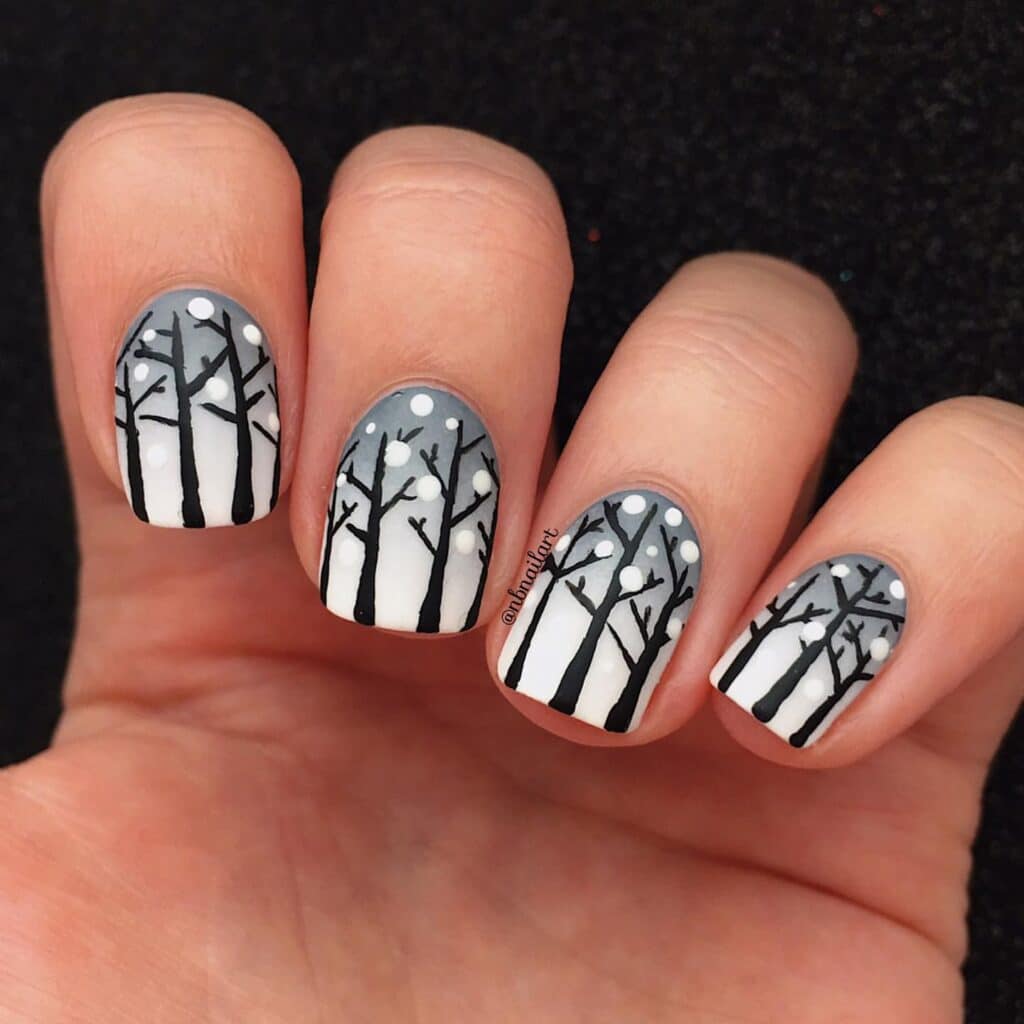
Gingerbread nail designs offer a fun and festive way to celebrate the holiday season. Various themes can help inspire unique nail art that combines sweetness with creativity.
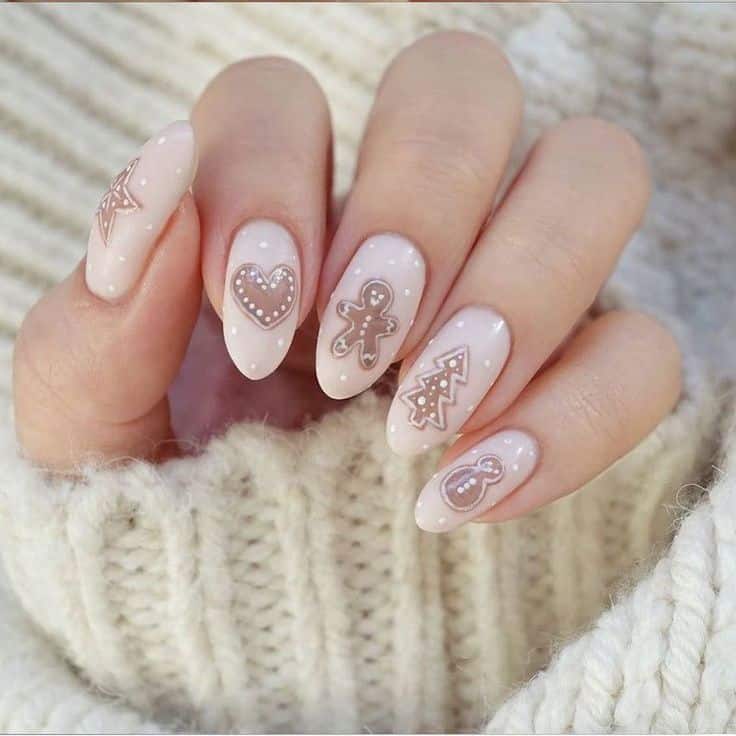
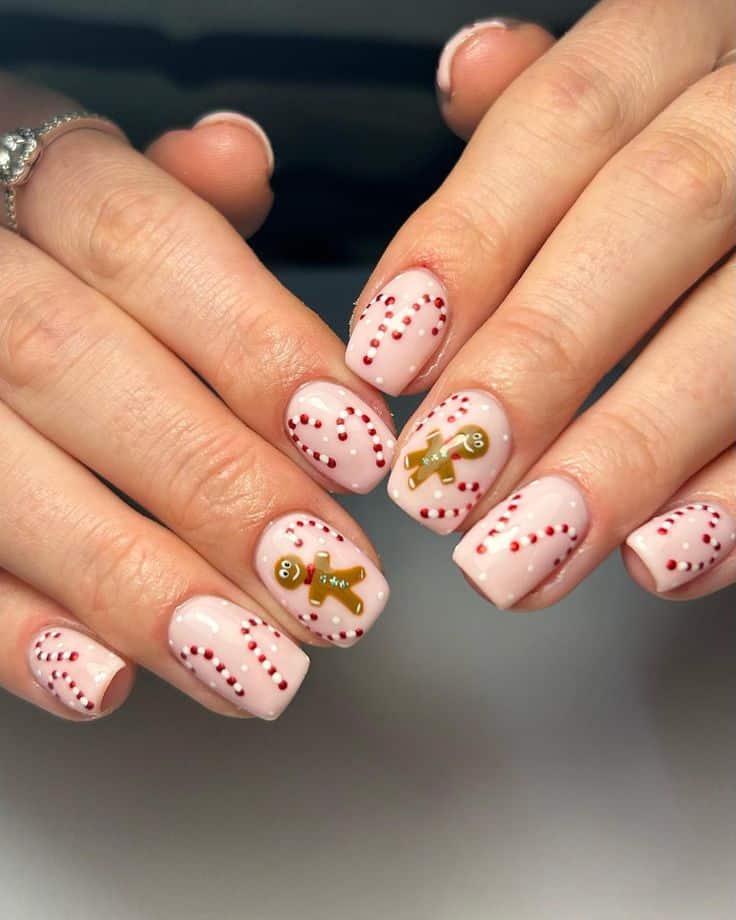
Classic Gingerbread Man Motifs
Classic gingerbread man motifs bring a nostalgic charm to nail art. Using a soft brown base, one can paint cheerful gingerbread men on one or two accent nails.
Details such as white icing for buttons, colorful candy designs, and tiny faces add personality.
Artists can use a fine detail brush to ensure precision. Adding a glossy topcoat enhances the design, mimicking the shine of real gingerbread.
Additionally, incorporating a touch of gold or silver can elevate the overall look. This theme is perfect for those wanting a traditional yet playful aesthetic.
Whimsical Candy Cane Stripes
Whimsical candy cane stripes are a delightful twist for nail designs. A combination of red and white or even green for a unique spin creates the candy cane effect.
This pattern can cover all nails or accentuate a few, adding variety. To achieve a clean line, striping tape can be very useful.
For extra flair, adding peppermint swirls or tiny peppermint candies as embellishments will enhance the festive spirit.
This design works well with matte or glossy finishes, allowing for personalization. Sheer coats can soften the color for a more subdued look.
Glittering Gingerbread Houses
Glittering gingerbread houses transform nails into cheerful holiday scenes. A base coat in light brown or pastel colors sets the stage for the gingerbread house design.
Nail artists can create a tiny gingerbread house using detailed painting techniques. White nail polish can represent icing, while colorful dots can symbolize candies.
Adding fine glitter around the house mimics the sparkle of sugar. This design can easily be complemented with winter-themed elements like snowflakes or stars.
Incorporating a matte topcoat gives a unique finish while allowing the glitter to shine through. These vibrant designs will make any hand feel festive.
Festive Color Palettes
Festive color palettes are crucial for gingerbread nail designs. Mixing traditional Christmas colors such as red, green, and gold can create a cheerful look.
Nail artists might incorporate pastel shades for a softer appearance.
Utilizing a defined color scheme helps create cohesion across different nail designs.
For example, pairing bright red with light brown can evoke the essence of gingerbread, while emerald green can emphasize the holiday spirit.
Experimentation with textures, such as matte versus glossy finishes, can also enhance the visual interest. These palettes allow for endless creativity while keeping the gingerbread theme intact.
How to Create Your Gingerbread Nail Art
Creating gingerbread nail art requires specific tools, a clear application process, and tips for ensuring the design lasts. With the right approach, anyone can achieve this festive look.
Selecting the Right Tools and Polishes
The first step involves gathering the necessary tools. Essential items include:
- Nail polishes: Choose a base coat in a warm brown shade for the gingerbread effect. White polish is ideal for icing details, while colored polish can add accents such as red and green for decorations.
- Nail art brushes: Fine detail brushes help create intricate designs. A dotting tool can also aid in adding small decorations.
- Top coat: A quality top coat ensures a glossy finish and protects the design.
Make sure to prepare nail files and cuticle pushers for nail grooming prior to painting.
Step by Step Application Process
- Prep the nails: Start by filing and shaping the nails. Push back cuticles gently.
- Base coat: Apply a clear base coat first. This protects nails and improves polish adhesion.
- Base color: Paint two coats of the brown polish. Allow adequate drying time between coats.
- Design details: Using white polish and a fine brush, create icing patterns like swirls and lines. Incorporate dots or small shapes with different colors for a festive touch.
- Finishing touch: After the design is complete, apply a clear top coat. This adds shine and helps preserve the artwork.
Tips for Long-Lasting Wear
To ensure the gingerbread nail art lasts, consider these tips:
- Proper drying time: Wait for each layer of polish to dry completely before proceeding. This reduces the risk of smudges.
- Avoid harsh chemicals: When cleaning or using hand sanitizers, protect the nails to prevent chipping.
- Regular maintenance: Reapply the top coat every few days to refresh the shine and seal the design.
- Limit exposure: Wearing gloves during chores can protect nail art from damage.
These practices lead to durable and beautiful gingerbread nails through the holiday season.
